Cute & Creative Crafts: Fun with Stencils
Aug 18, 2016, 12:20 PM
Suffering from the gap between the end of camp and the beginning of the school year? Since start days vary from state to state and district to district, it can be hard to find extracurricular activities that last for the entire summer. If the first bell doesn’t ring for your little ones until after Labor Day and you’re running out of ways to keep them entertained, we can help! Turn off the second consecutive hour of Paw Patrol (because you need your sanity) and try tackling this fun family craft instead.
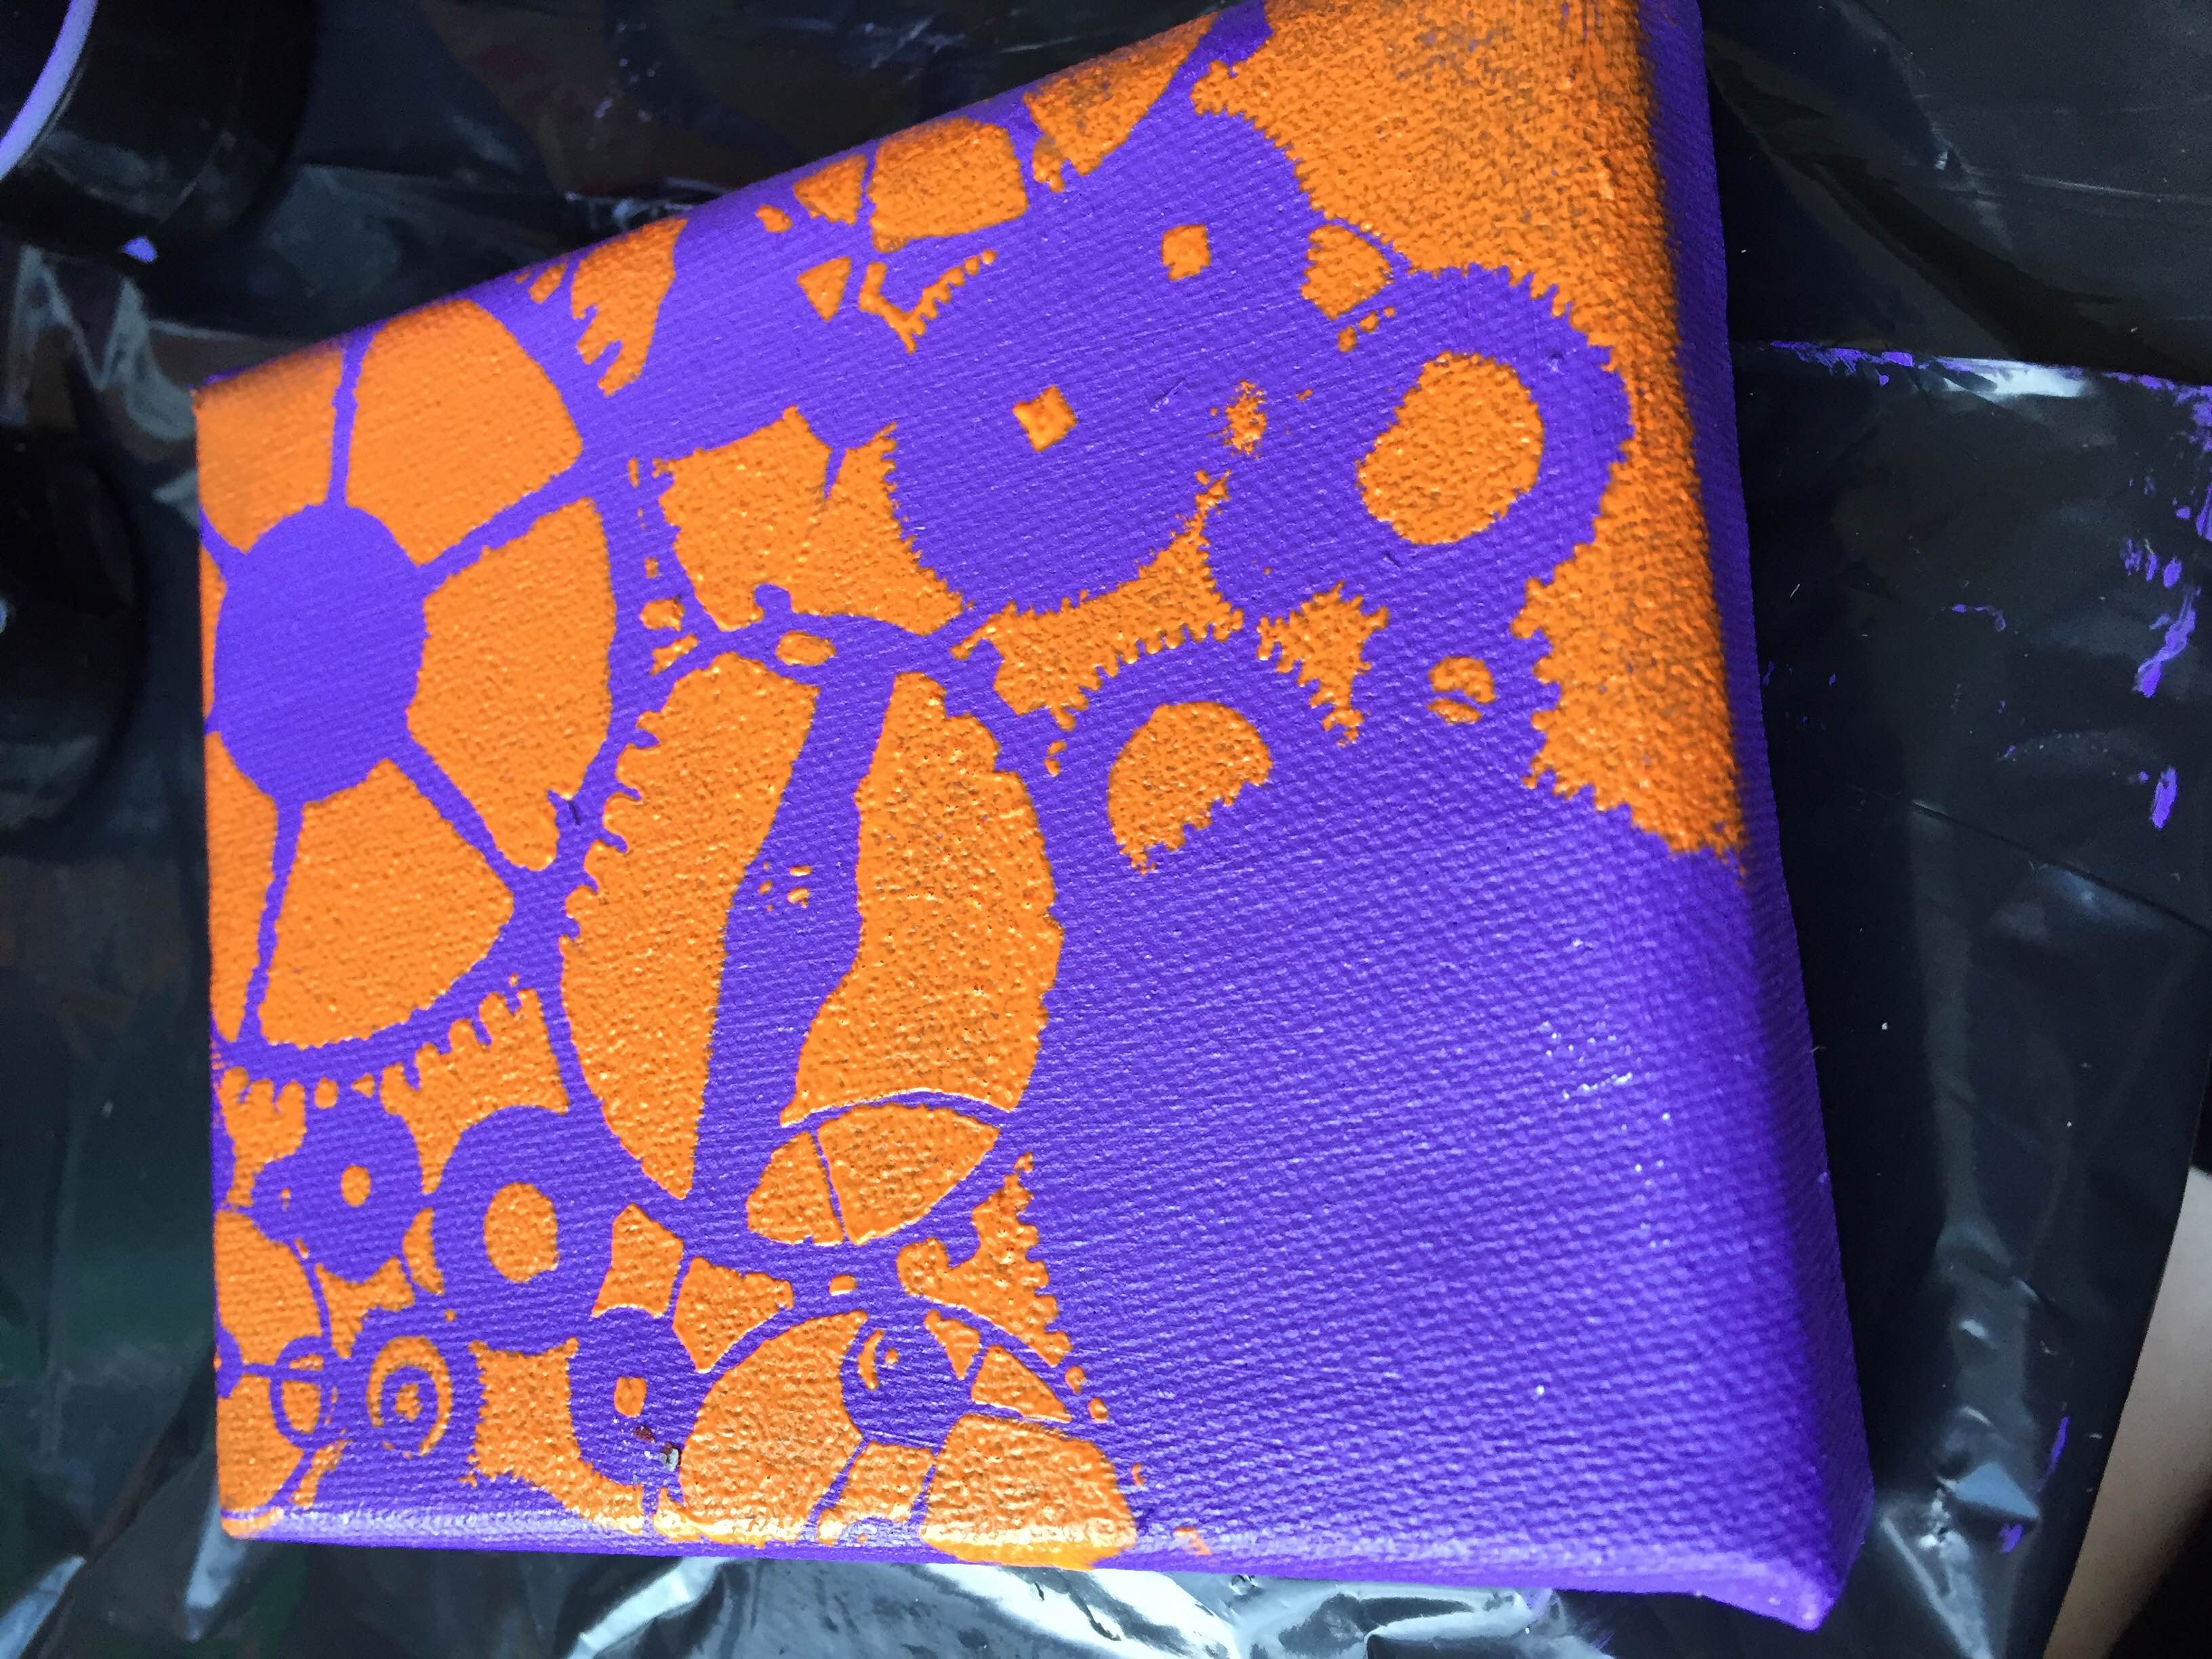
We love stencils for a few reasons: they’re easy, look great, and allow for lots of originality. Perfect for children of all ages and skillsets, pick up a few from your local art supply store today and see what you and your kids can create! Here’s what you’ll need for this craft and some lessons we learned while stenciling.
Supplies
Step 1: Choose your stencil. Beyond their intricate designs and styles, there are two general types of stencils: those that you fill in and those that you paint over. The type you’re using will impact the way you paint the background of your picture. If you have a stencil you fill in, the color you first paint your canvas will be the background. However, if you have a stencil you paint over, the color you first paint your canvas will end up being the fill of the stencil.
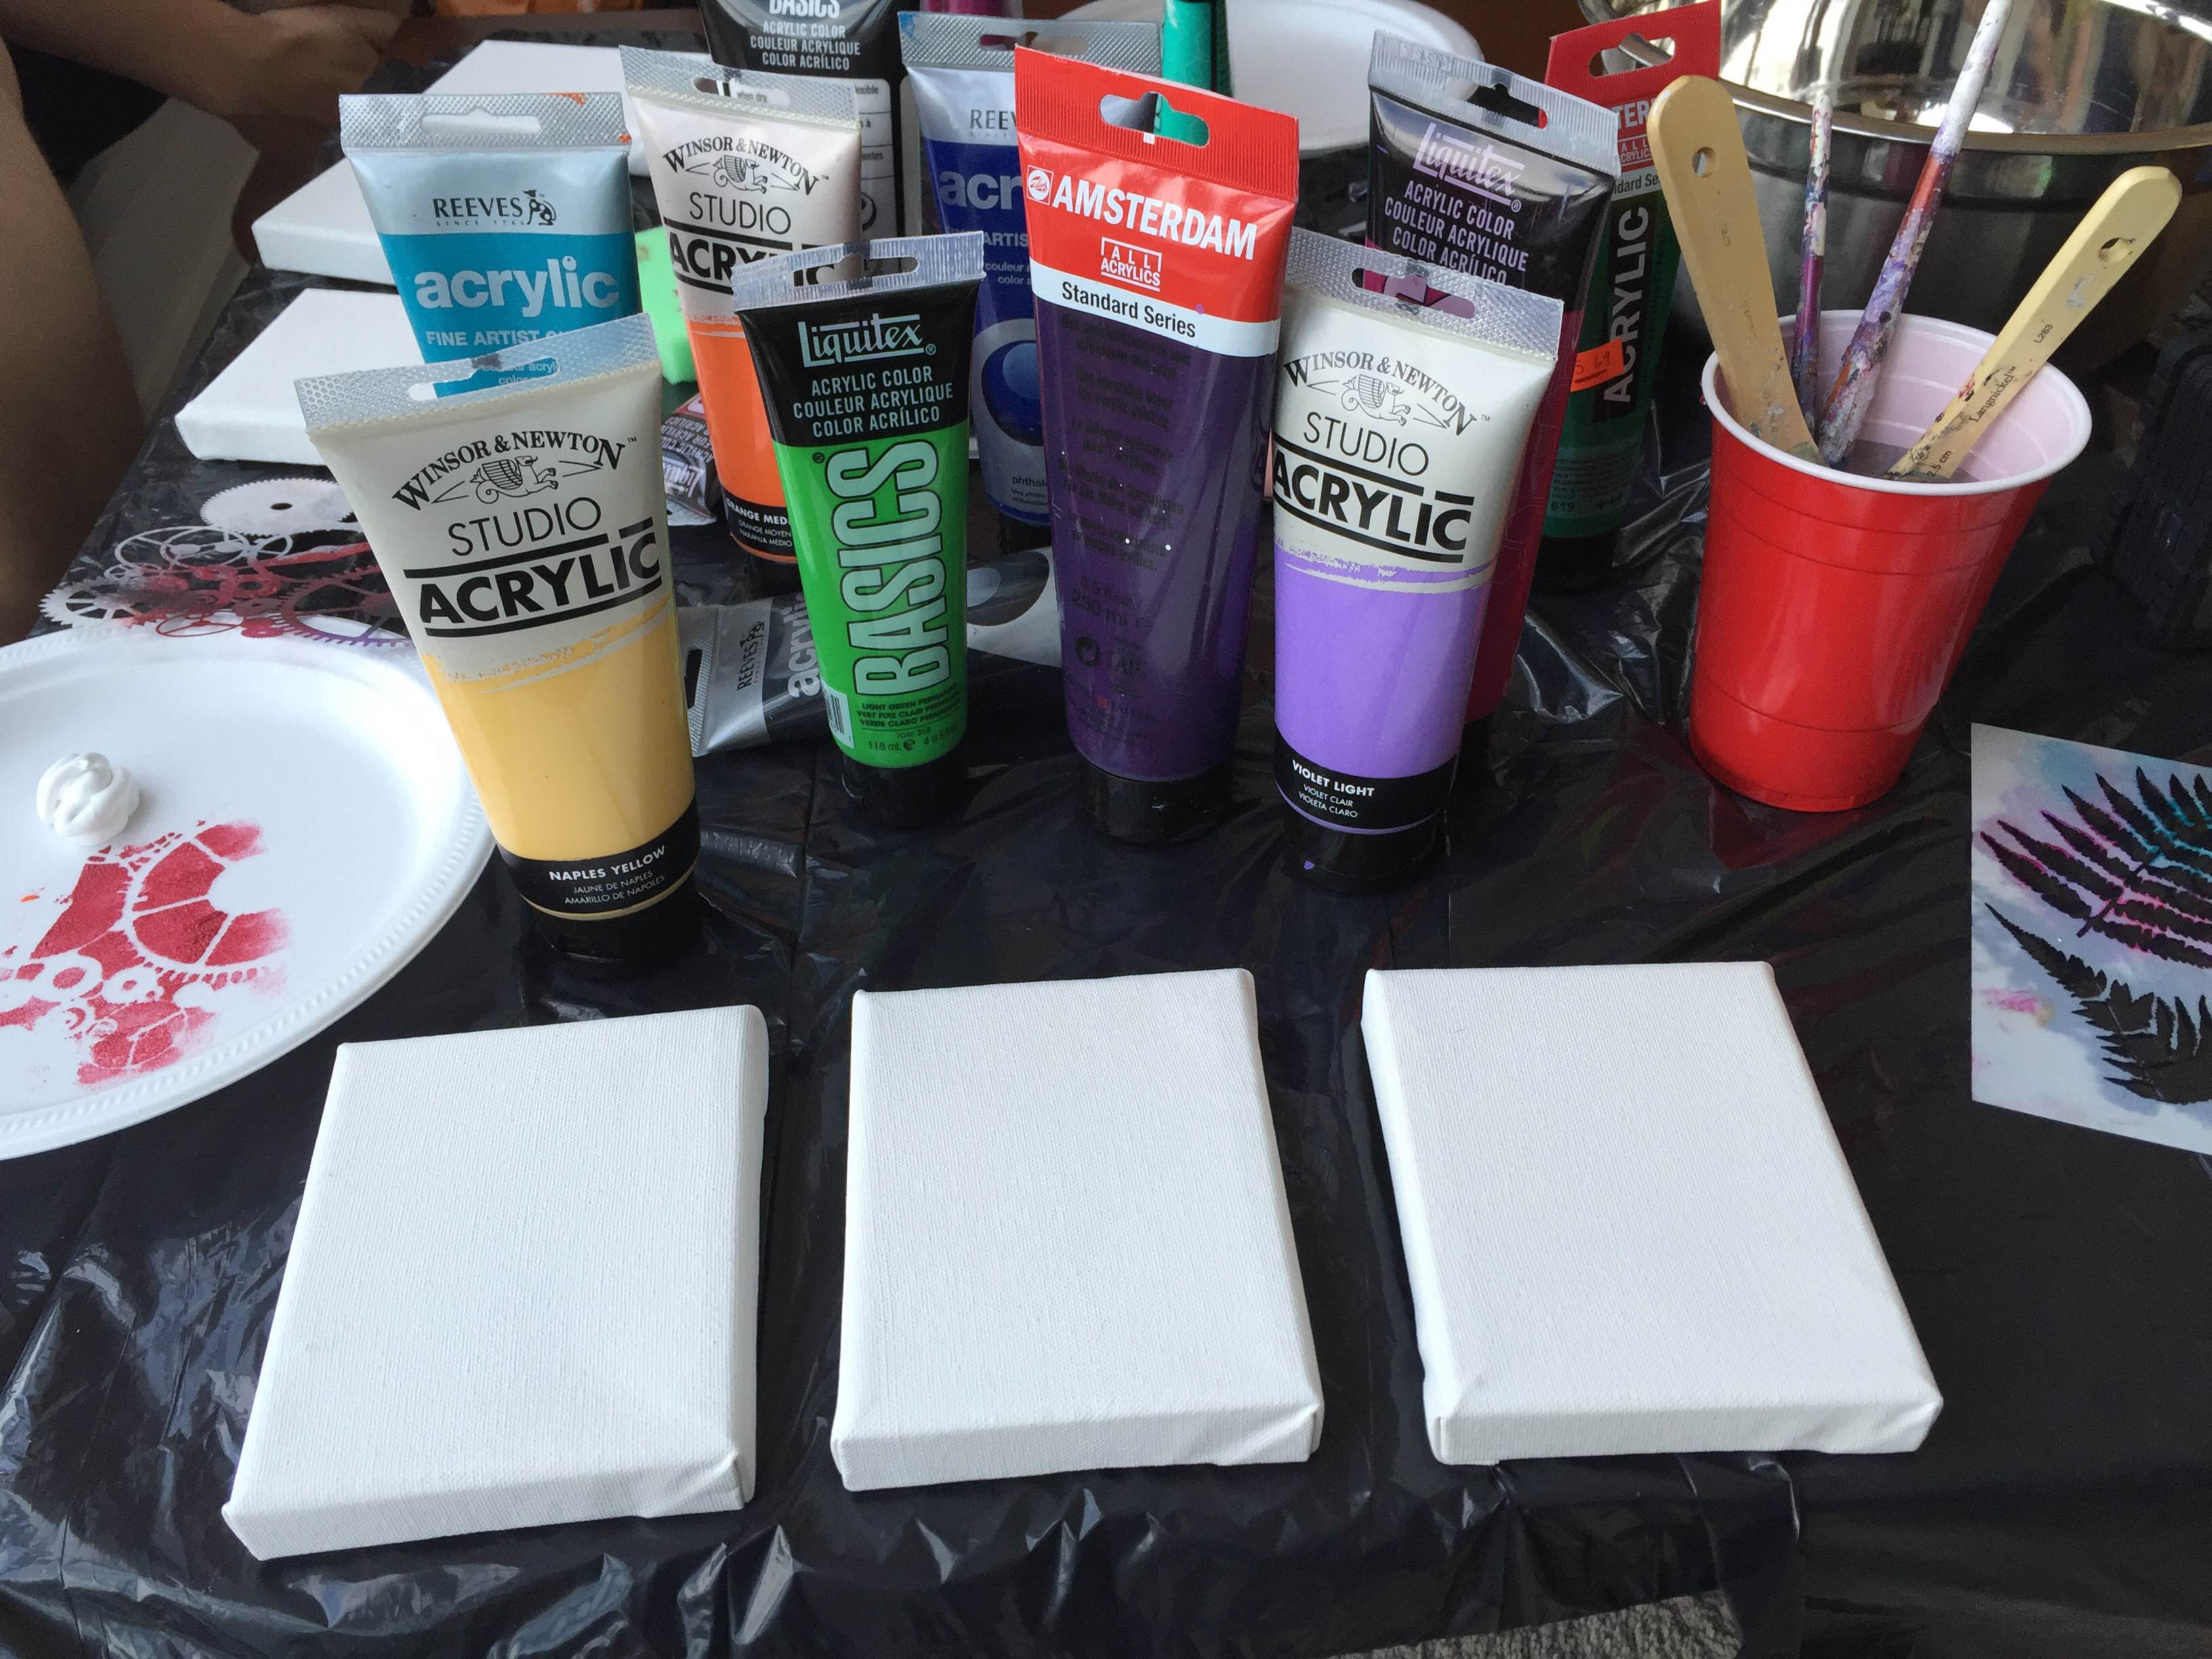
Step 2: Choose the colors of paint you’d like to use. Select a color or colors for your background and your stencil. You can choose complimentary colors or try something more dynamic with shades that seem to clash.
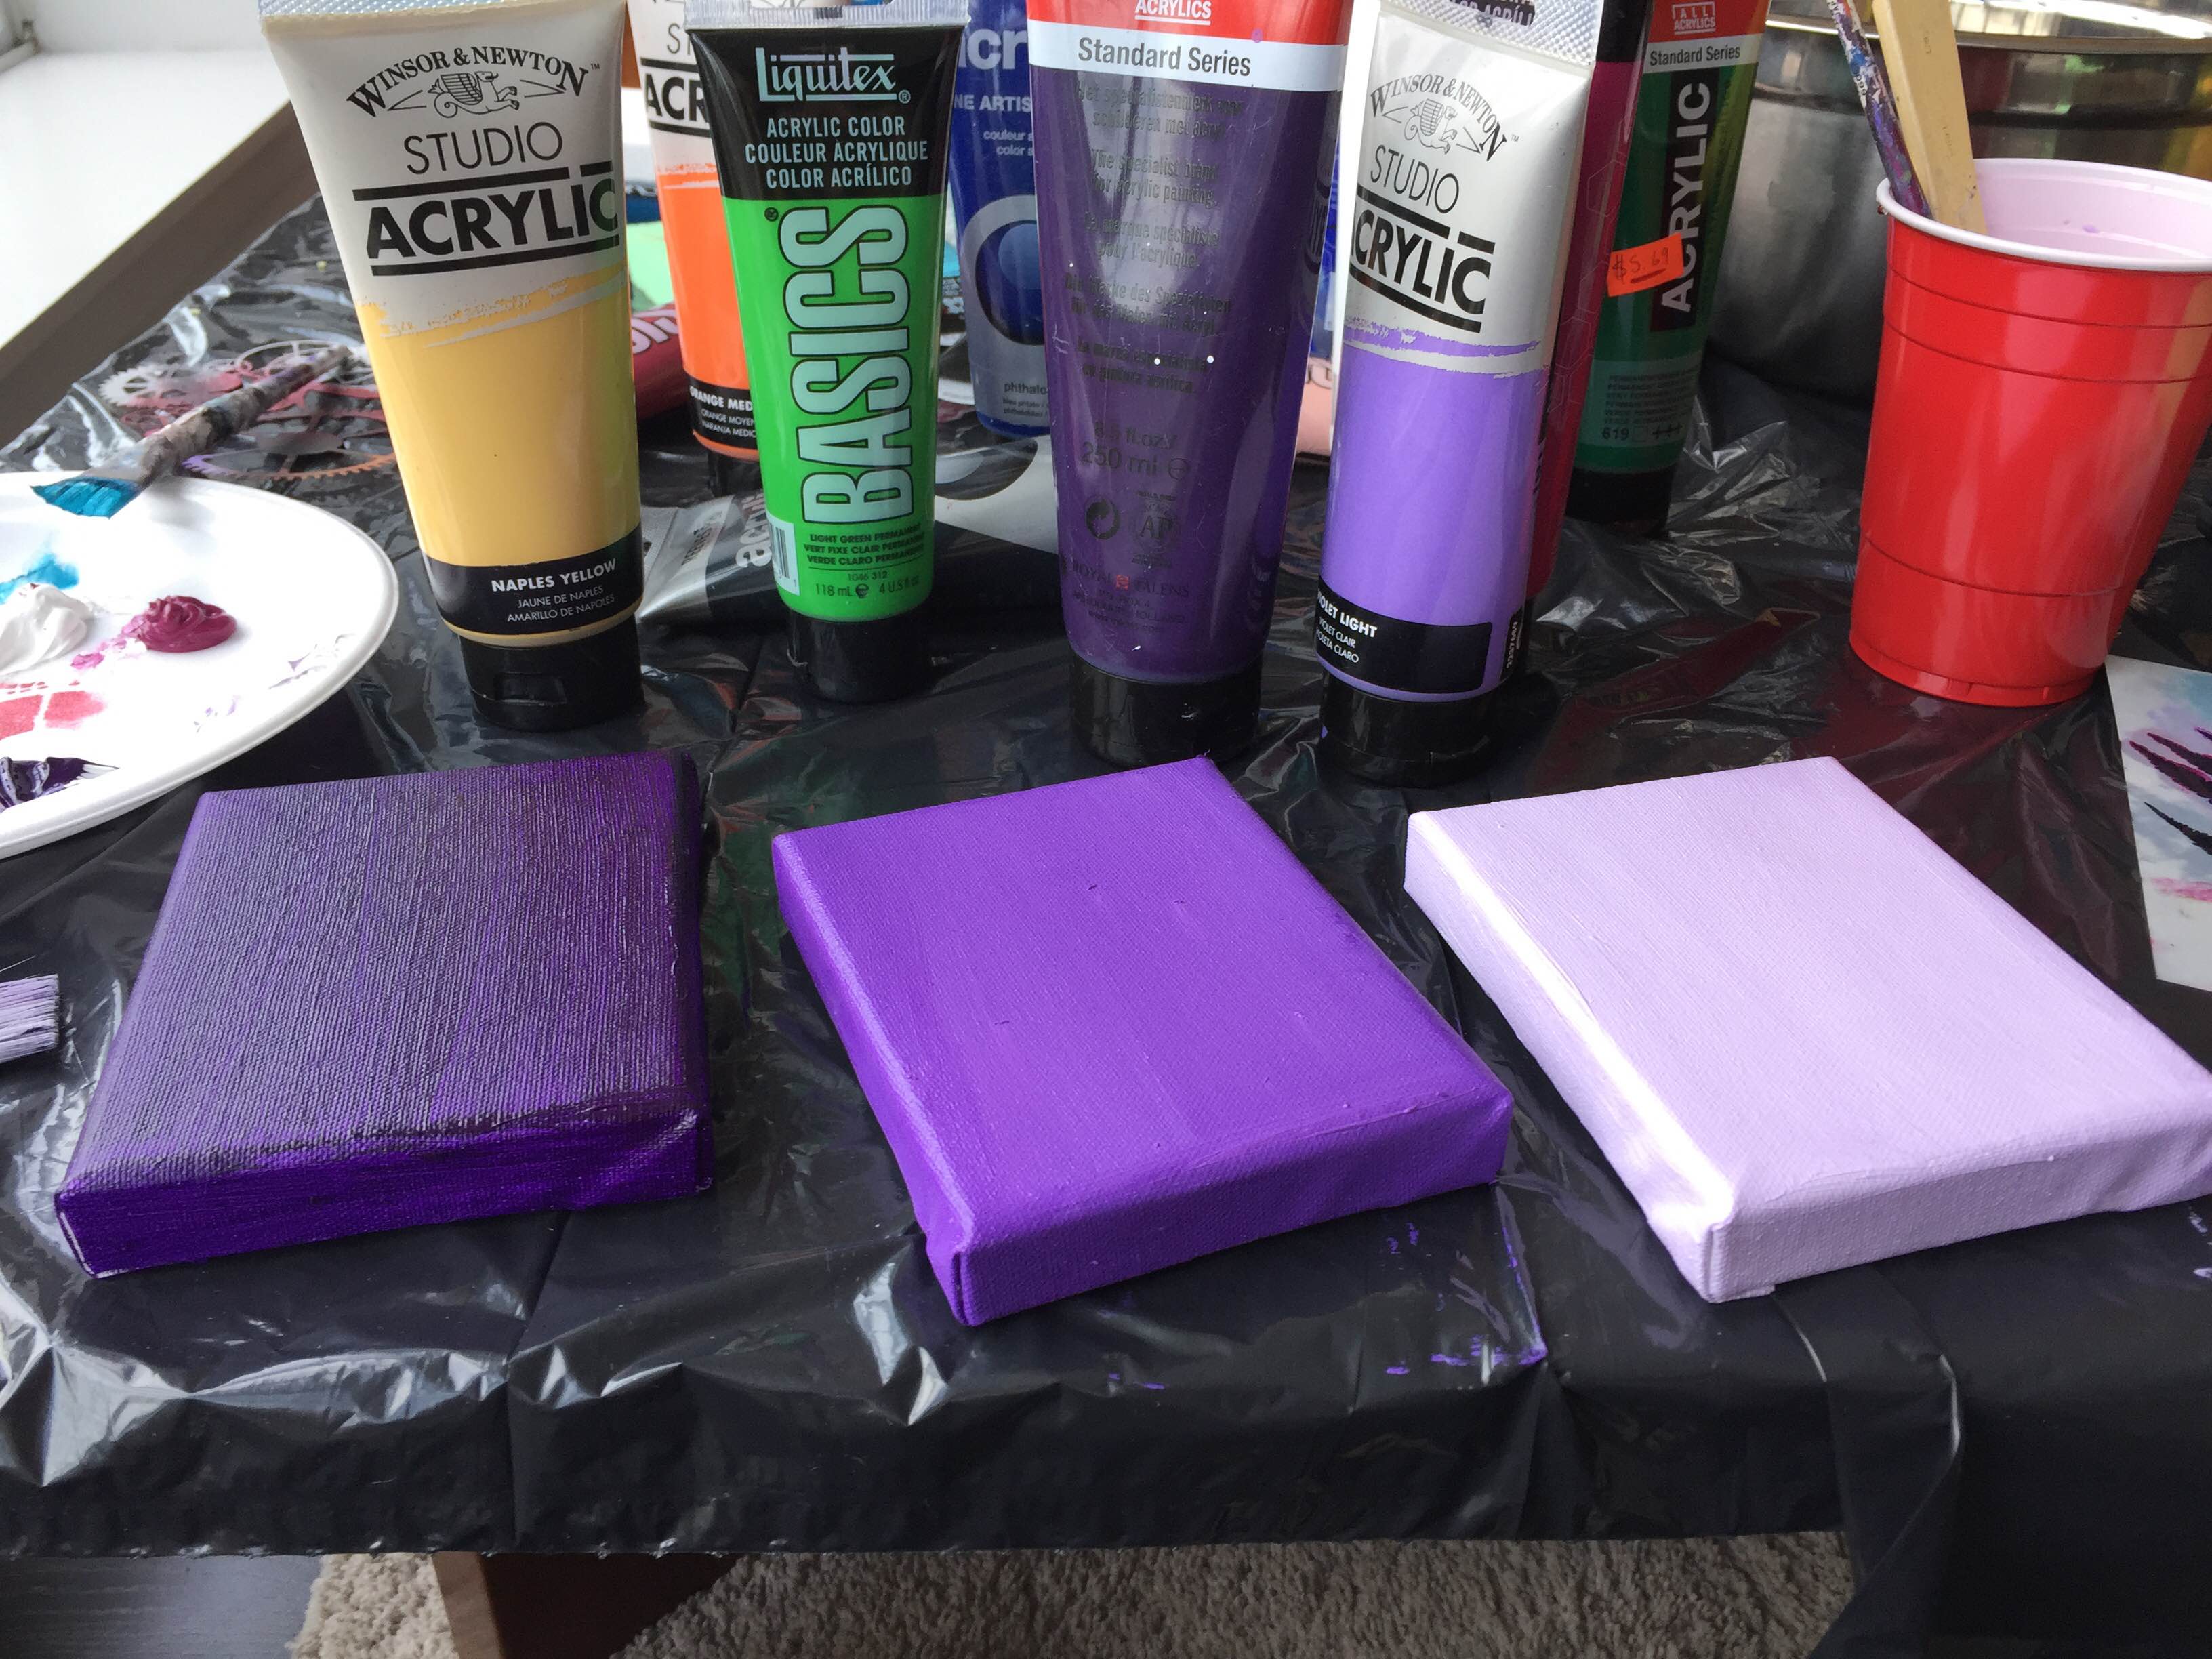
Pro Tip: If you’re painting more than one canvas, we recommend choosing all of your colors at the same time so you can create pieces that go together. We tried fun bright shades for one triptych and an ombre effect for the second.
Step 3: Paint your background. Have more competent painters participating in this craft? Try playing with texture and style for a more complex creation.
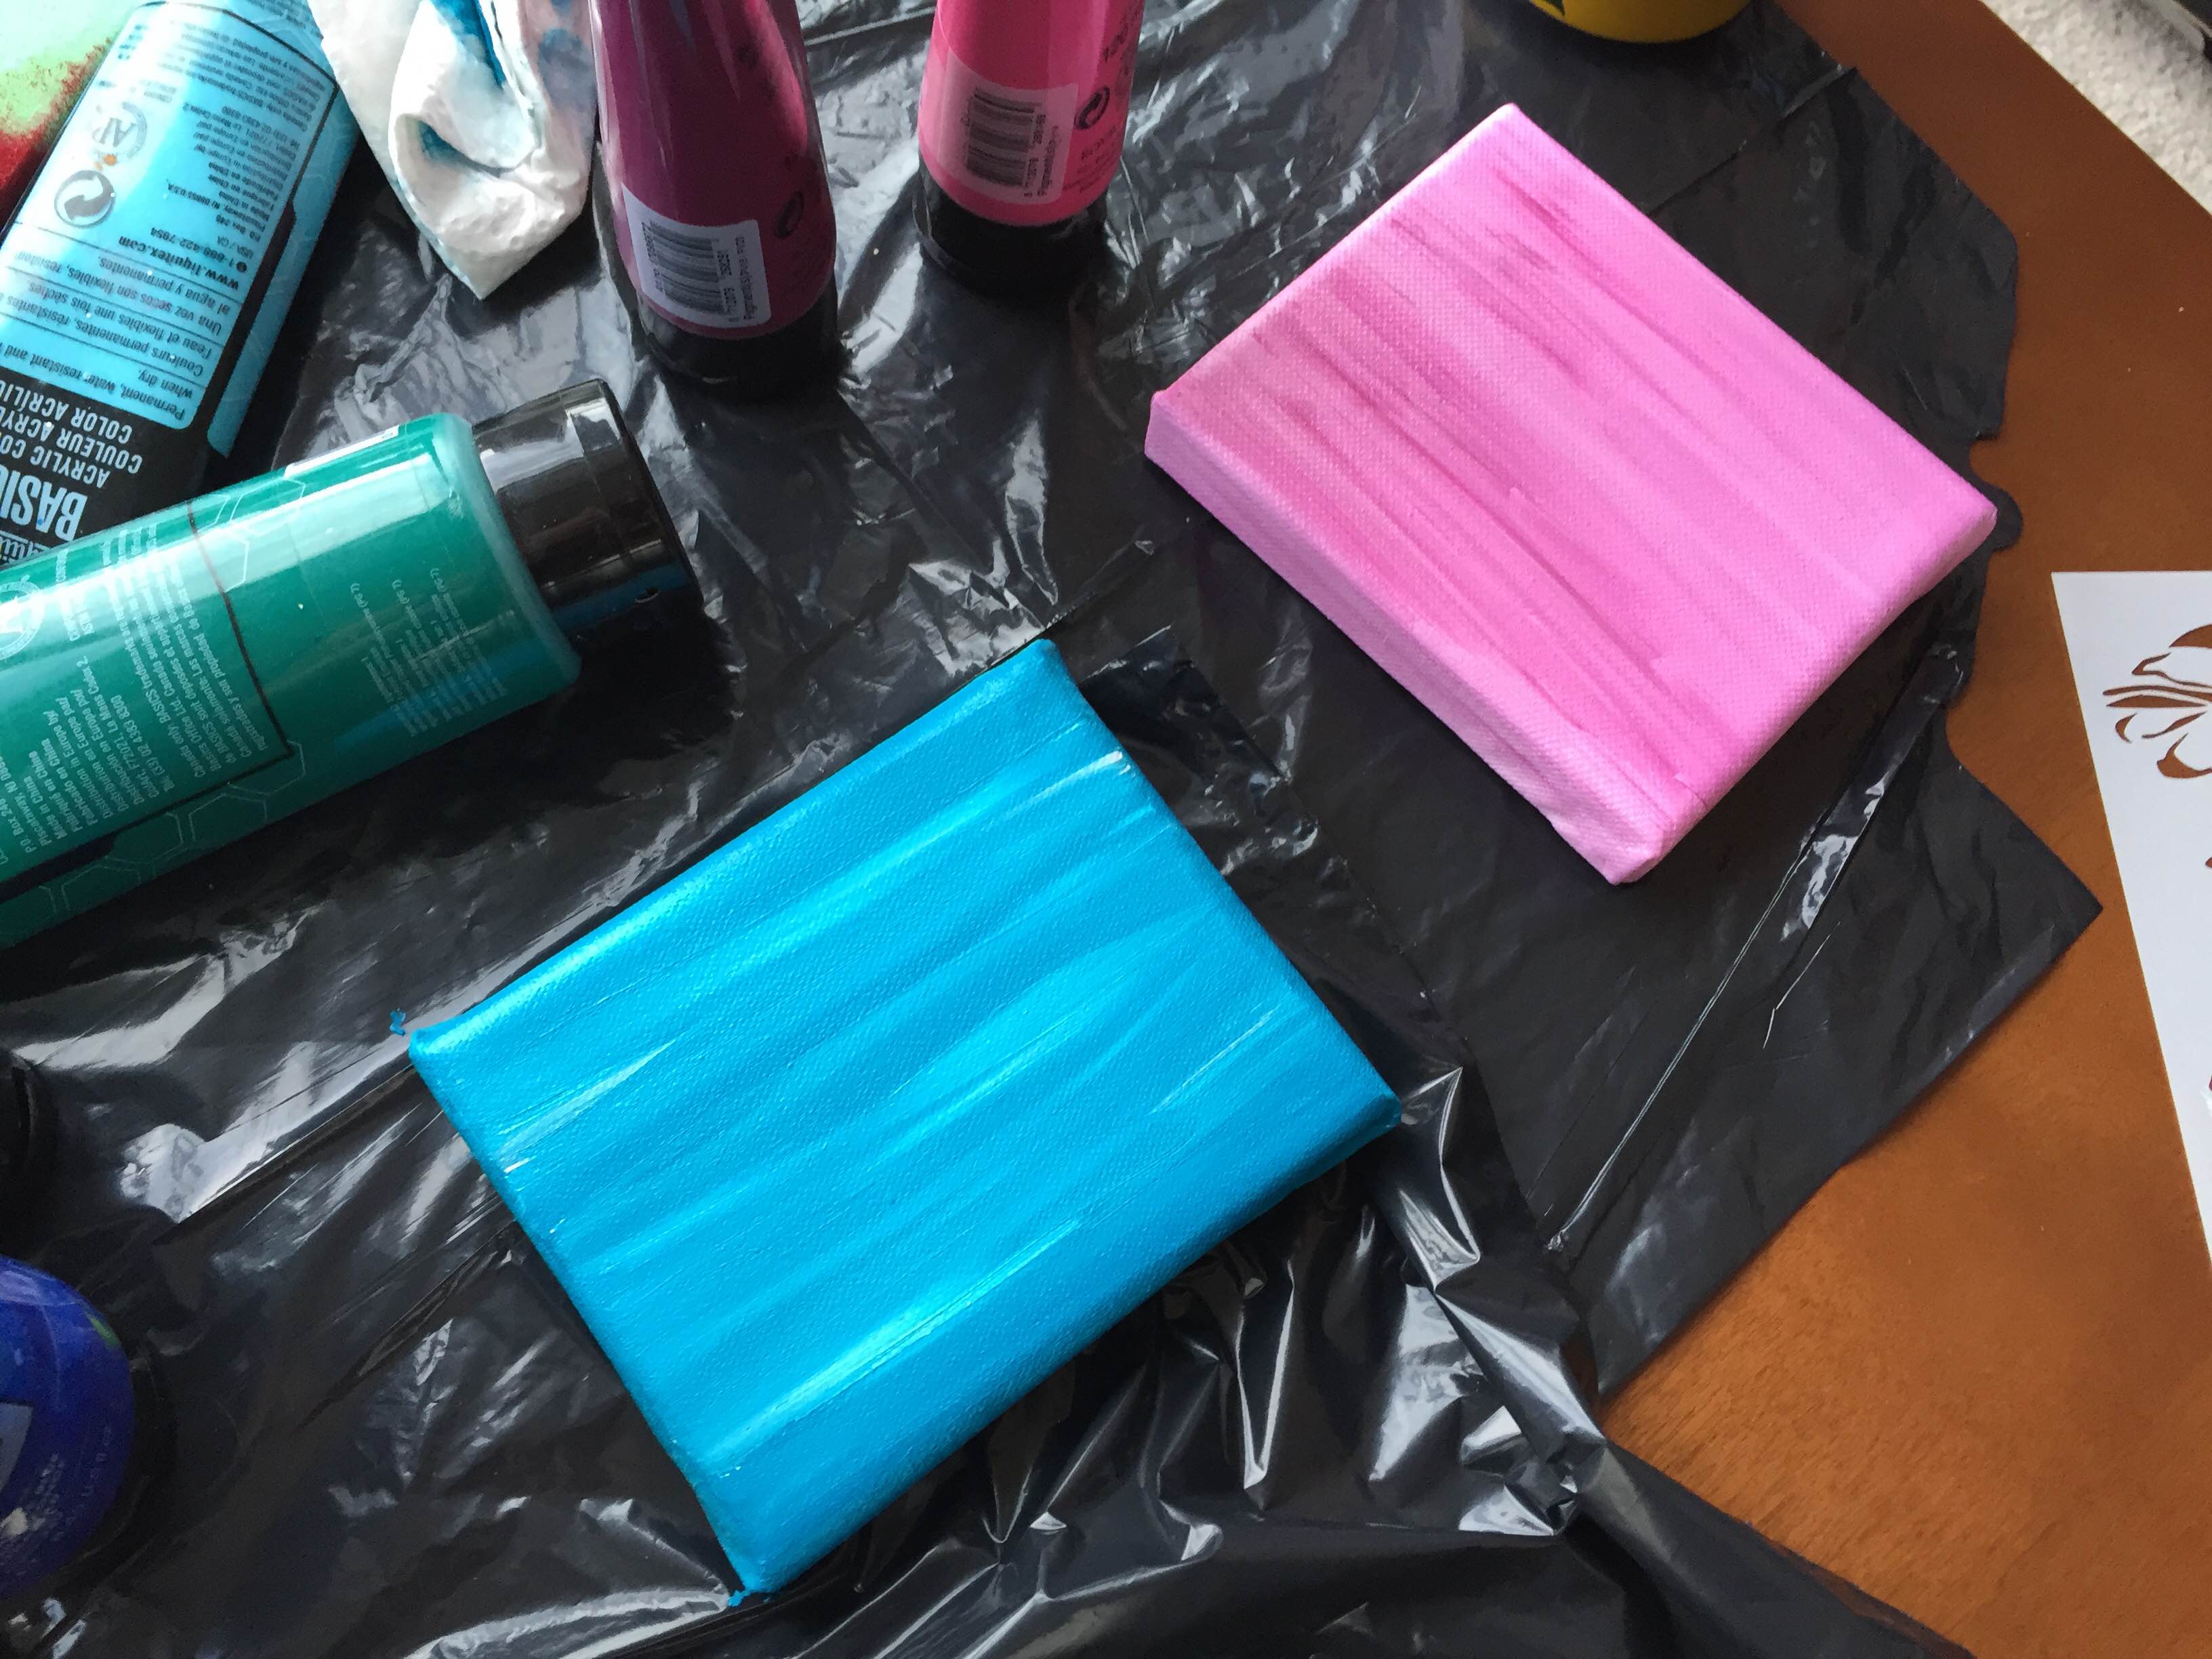
Step 4: Wait for paint to dry. This will take several minutes, depending on the size of your canvas.
Step 5: Once your background is dry it’s time to get your stencil on. Place your stencil firmly on your canvas and either fill it in or paint over it using your sponge. Apply gentle but consistent pressure as you sponge paint onto your canvas. We recommend a quick succession of dabs.
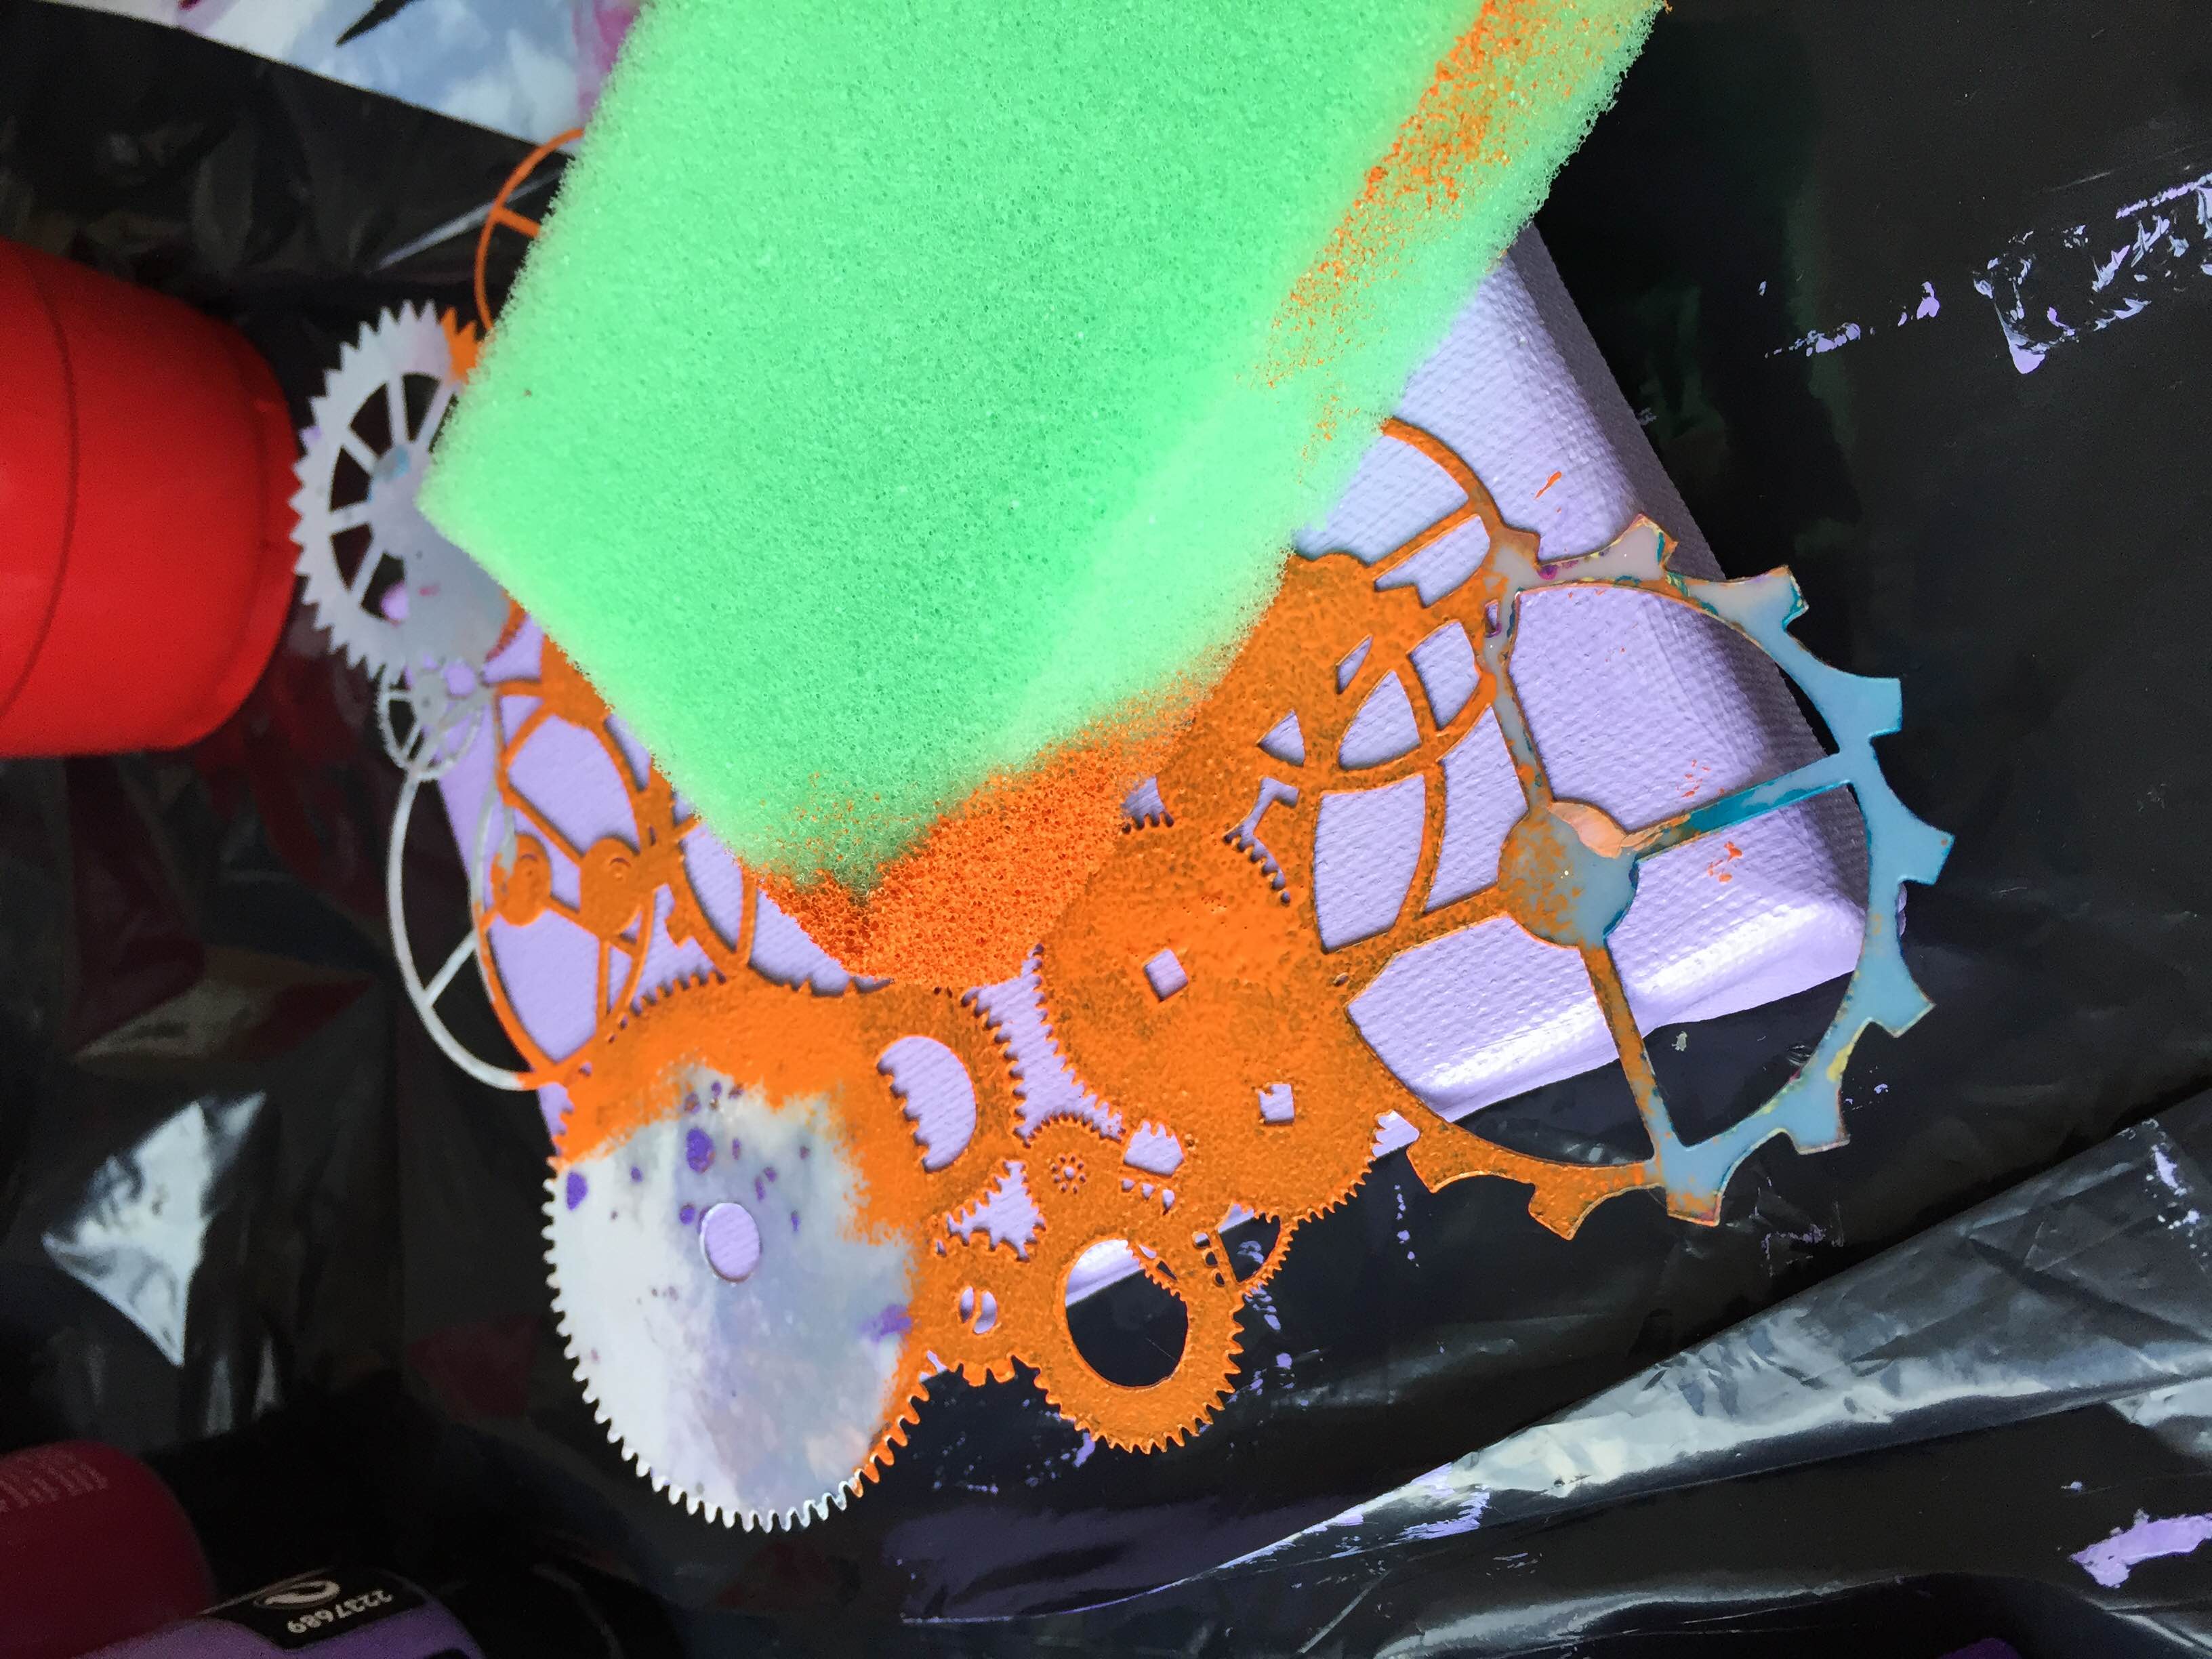
Step 6: Wait for paint to dry. Again, this will take several minutes, depending on the size of your canvas.
Step 7: Enjoy! These creations could make the perfect gift for a new teacher or could be just what your drab bathroom called for. The possibilities are endless!
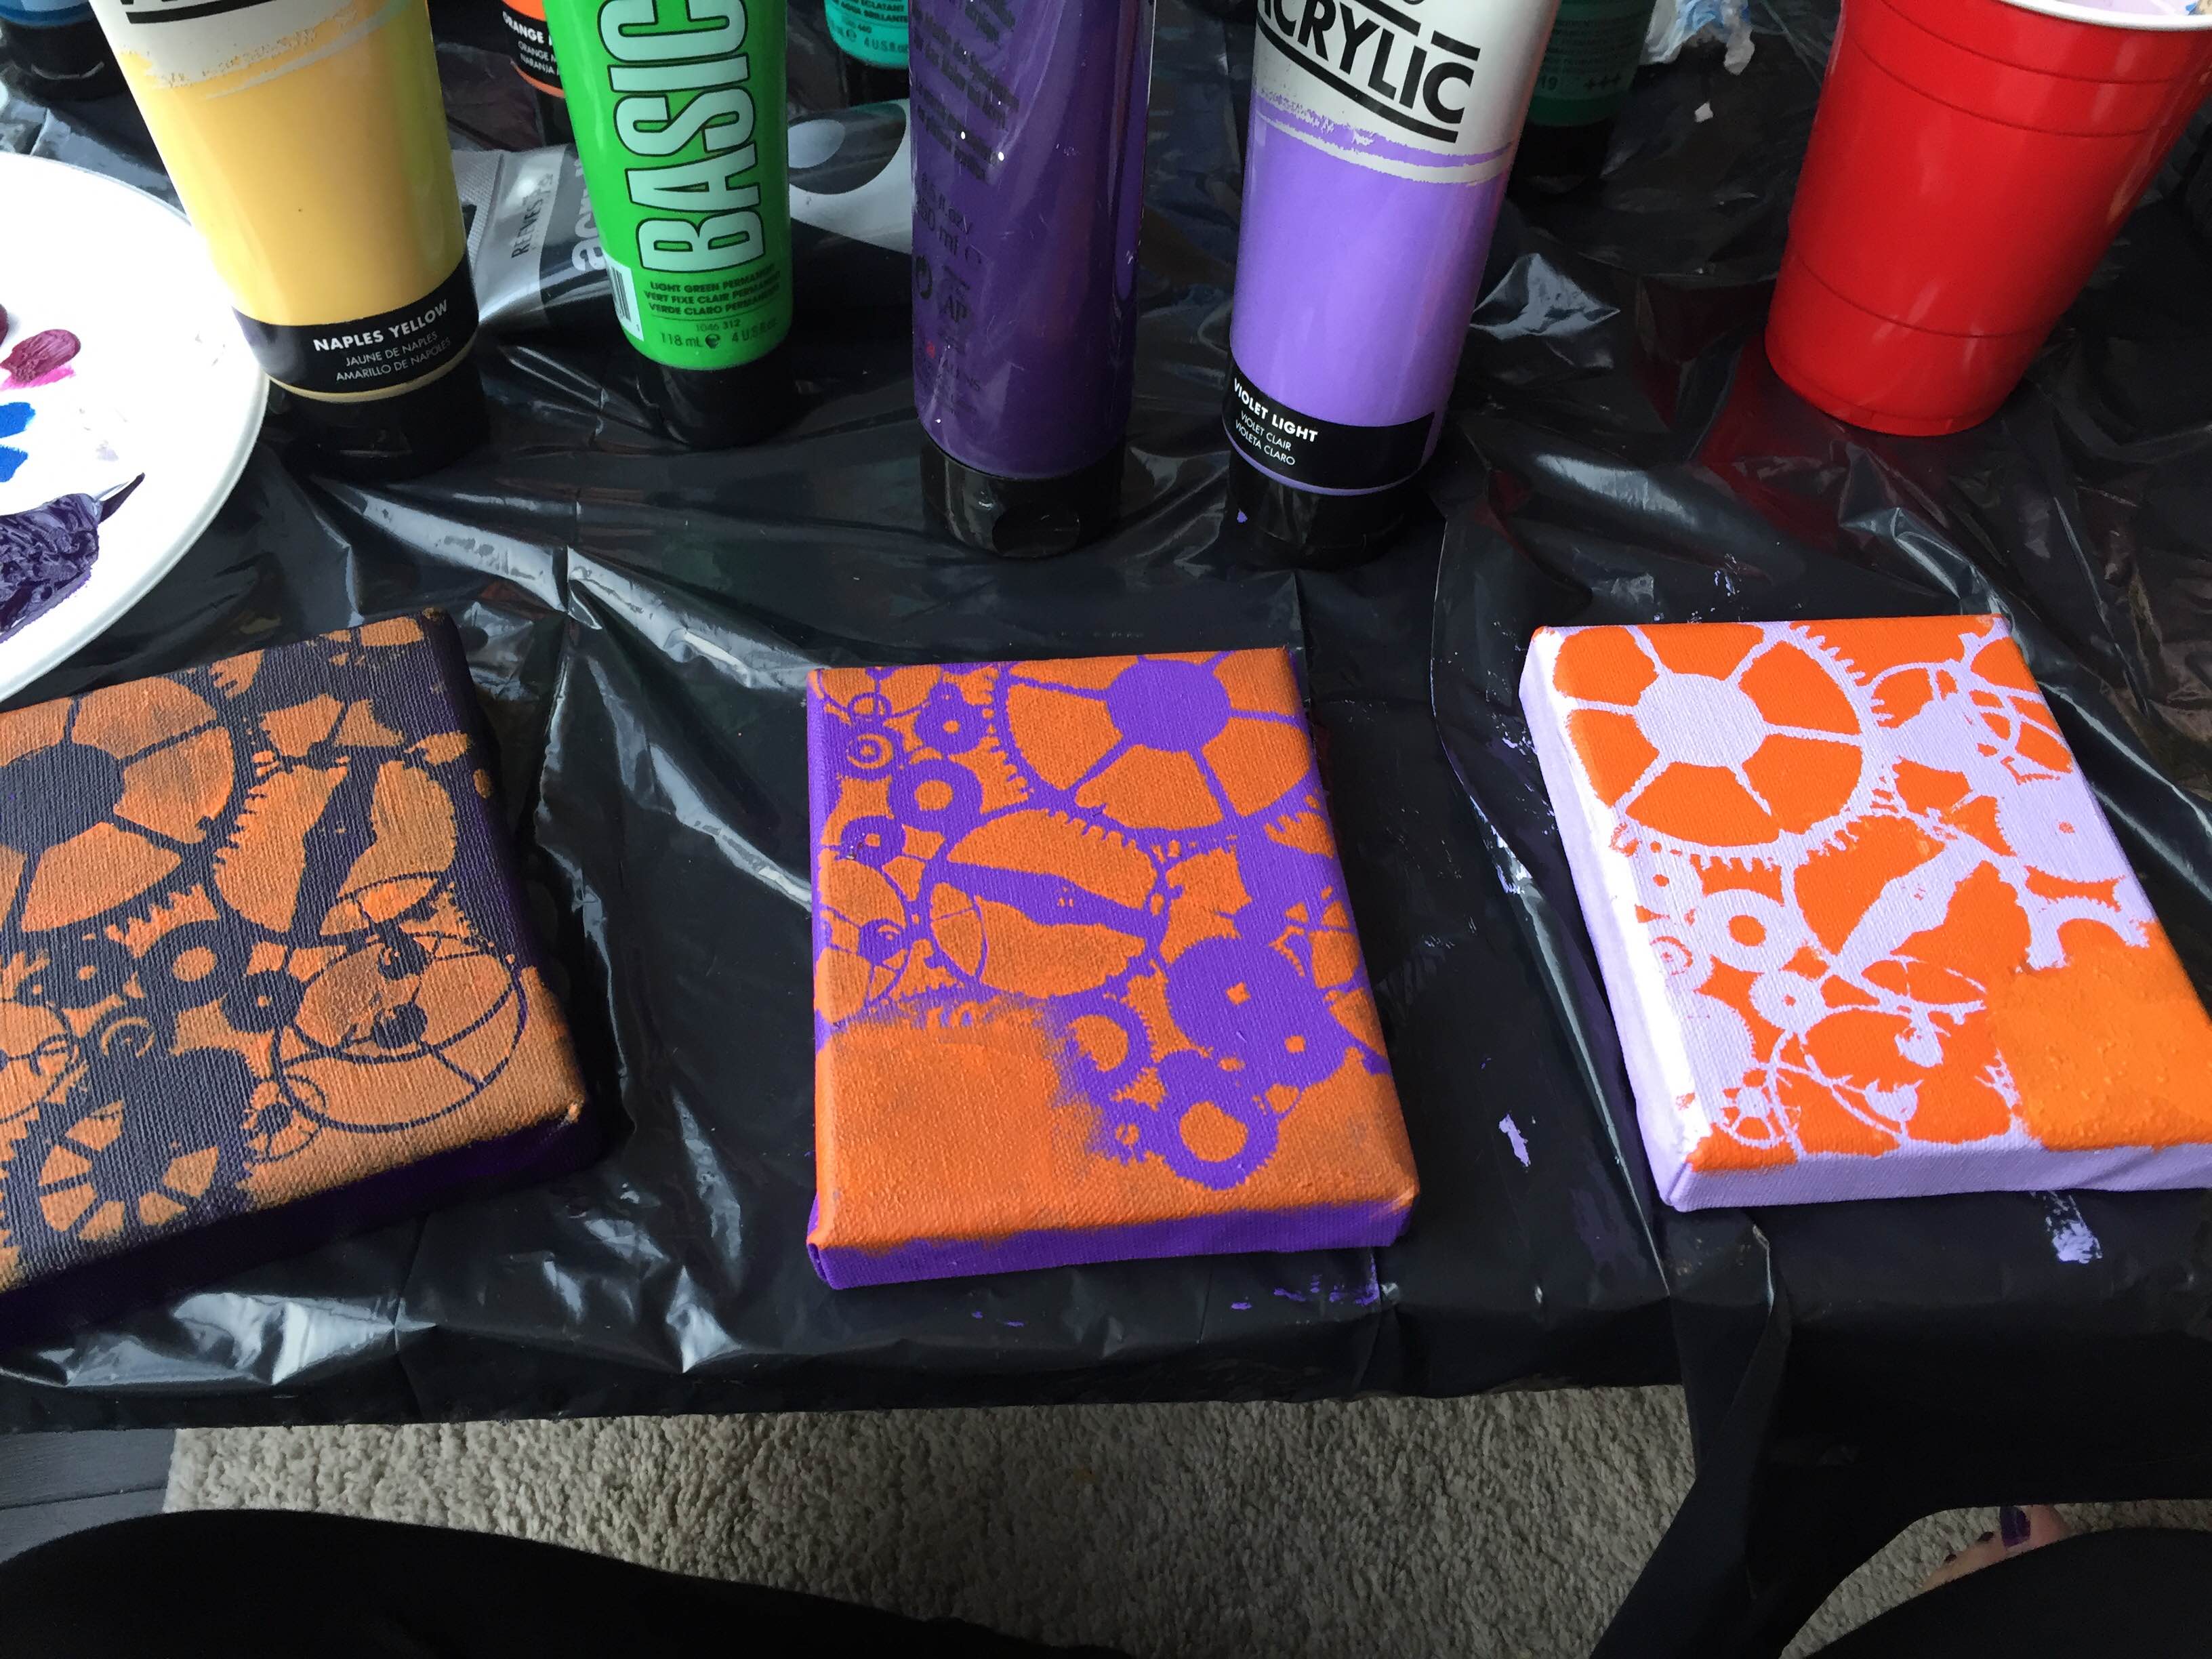
Tackle this craft with your youngsters or with some friends and a glass of wine? Share snaps of your paintings with us on Facebook, Instagram, or Twitter. We love seeing what you create!

We love stencils for a few reasons: they’re easy, look great, and allow for lots of originality. Perfect for children of all ages and skillsets, pick up a few from your local art supply store today and see what you and your kids can create! Here’s what you’ll need for this craft and some lessons we learned while stenciling.
Supplies
- Canvases - We used three mini canvasses to create triptychs.
- Paint - The more colors the better!
- Paint Brushes - Select your sizes based on your canvas and your crafters.
- Spongers - You can grab special sponges from the art supply store, or just use regular dish sponges (pro tip: cut off the bristly side!).
- Stencils - We suggest picking up at least two (one for you and one for your little one).
Step 1: Choose your stencil. Beyond their intricate designs and styles, there are two general types of stencils: those that you fill in and those that you paint over. The type you’re using will impact the way you paint the background of your picture. If you have a stencil you fill in, the color you first paint your canvas will be the background. However, if you have a stencil you paint over, the color you first paint your canvas will end up being the fill of the stencil.

Step 2: Choose the colors of paint you’d like to use. Select a color or colors for your background and your stencil. You can choose complimentary colors or try something more dynamic with shades that seem to clash.

Pro Tip: If you’re painting more than one canvas, we recommend choosing all of your colors at the same time so you can create pieces that go together. We tried fun bright shades for one triptych and an ombre effect for the second.
Step 3: Paint your background. Have more competent painters participating in this craft? Try playing with texture and style for a more complex creation.

Step 4: Wait for paint to dry. This will take several minutes, depending on the size of your canvas.
Step 5: Once your background is dry it’s time to get your stencil on. Place your stencil firmly on your canvas and either fill it in or paint over it using your sponge. Apply gentle but consistent pressure as you sponge paint onto your canvas. We recommend a quick succession of dabs.

Step 6: Wait for paint to dry. Again, this will take several minutes, depending on the size of your canvas.
Step 7: Enjoy! These creations could make the perfect gift for a new teacher or could be just what your drab bathroom called for. The possibilities are endless!

Tackle this craft with your youngsters or with some friends and a glass of wine? Share snaps of your paintings with us on Facebook, Instagram, or Twitter. We love seeing what you create!
)


